Step 12: Install piston / Connecting rod
Lubricate the piston and rings with fresh engine oil.
Orient the piston so that the identifying marks are in the appropriate position. This varies depending on the style of piston you have (see the Kohler Service Manual.) For my type of piston, the notch must face the flywheel.
I used a ring compressor that I purchased at Harbor Freight for $8, but this can be done without that tool with a little patience. Based on my experience using one, however, I think it was a nice little tool to have for my rebuild at a minimal cost.
Here's the ring compressor on the assembly before it goes into the block.
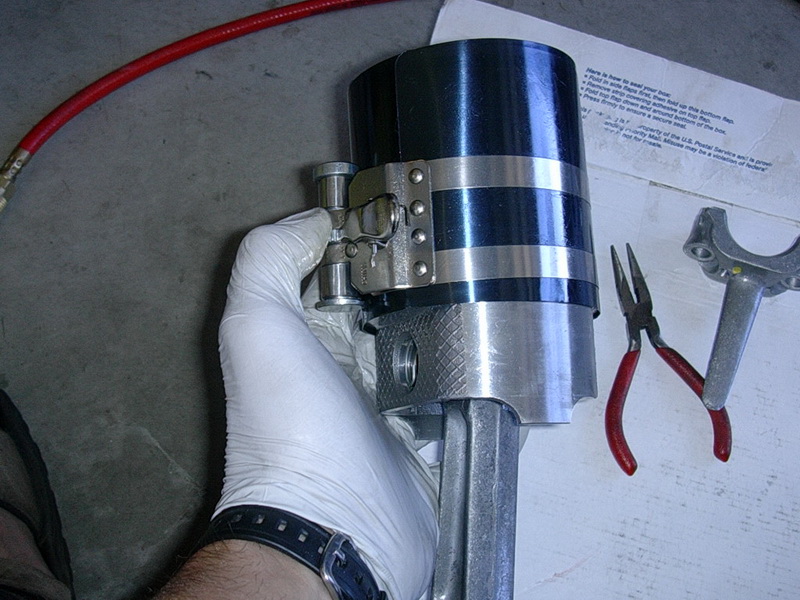
The compressor makes everything tight so that the whole assembly can be moved into the bore at once. After you get it snugged up, you can tap the piston into the bore with a rubber mallet.
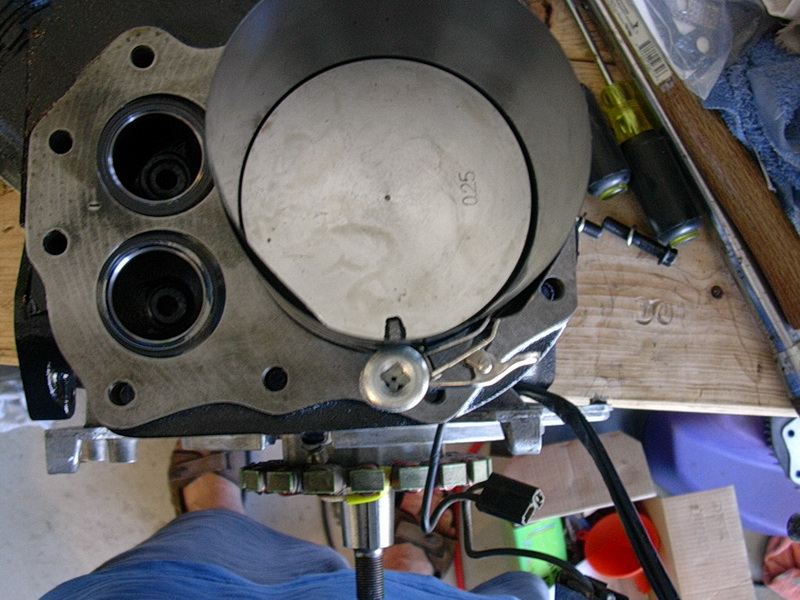
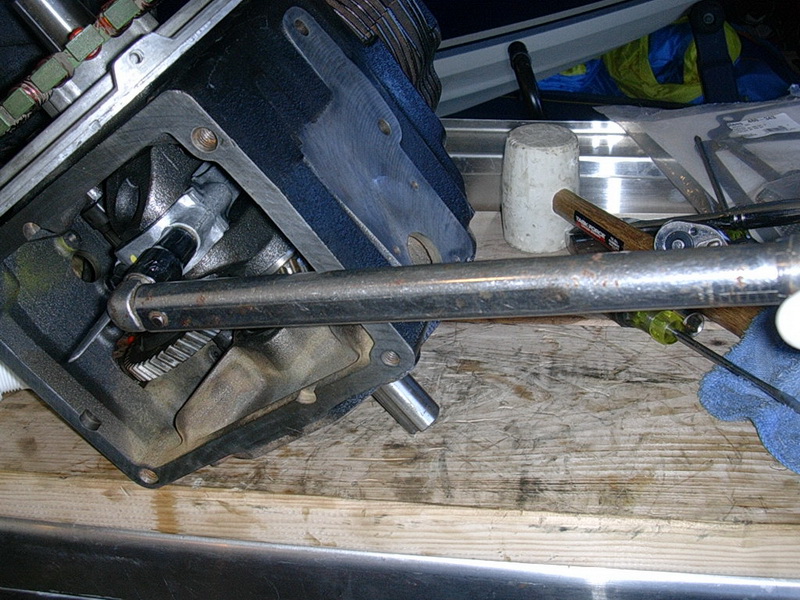
Bring the rod down to sit on the crank journal (the "journal" is the smooth round mounting surface, where your rod connects.)
Then, making sure your oil hole is toward the camshaft, and bolt up the rod cap.

Tighten these bolts to spec, which will be noted in your service manual. Mine was 285 in/lb, and since my in/lb torque wrench didn't go that high, I had to convert it to ft/lb using this
online converter, and tightened the bolts to about 24 ft/lb.