Here is a drawing of a narrow frame clutch assembly:
Here are the areas I check out:
1. The area where the throw out bearing(3) rides needs to be smooth. The driveshaft(1) should be replaced if the driveshaft has any groves in it. They are easy to make if you have a drill press.
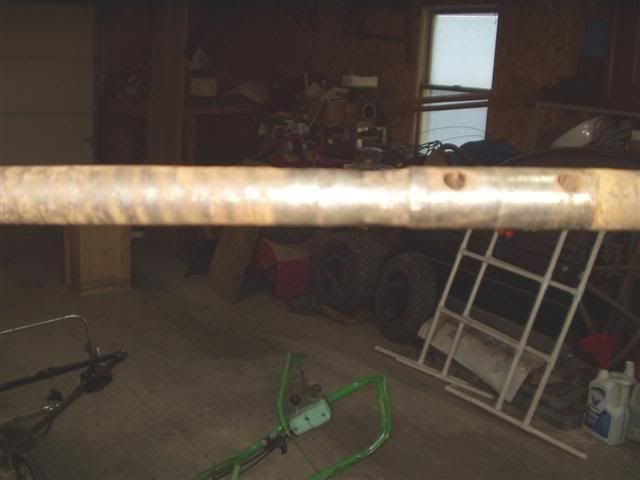
Here is a good example of a driveshaft that needs replaced:
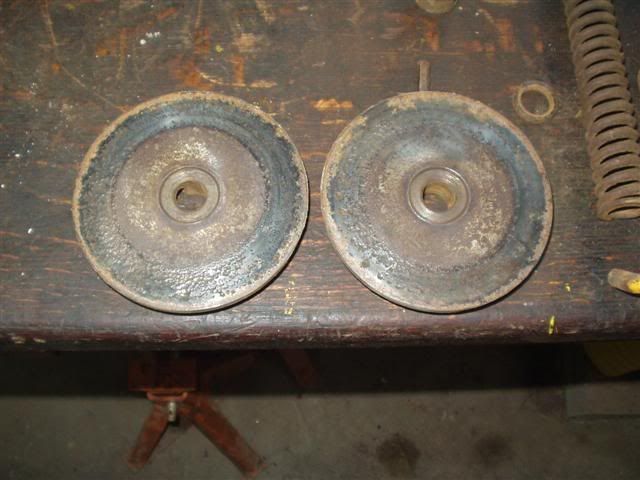
2. The clutch drive plates(5 and 7)must be trued in a lathe.
before:
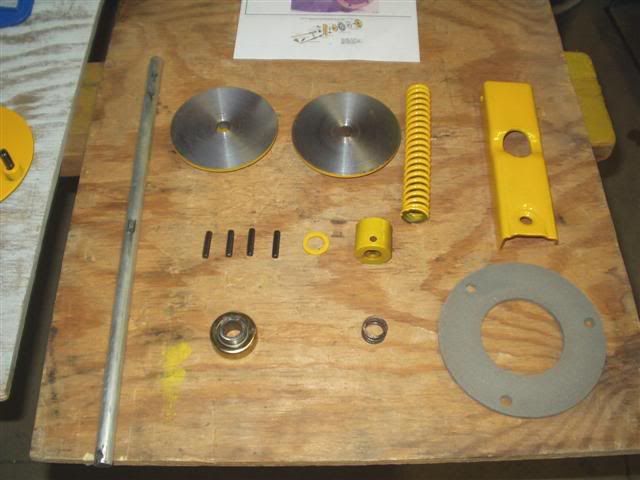
after trued on a lathe:
3. The clutch disk(6) needs to be replaced. You can buy a replacement disk from Cub Cadet. My Son's 86 on steroids has a kevlar/fiberglass composite clutch disc in it. The motor in the 86 is making over 20 horsepower. The clutch disk seams to hold better than the Cub Cadet brand disk so far. Summer tug of wars and fall plow days will be a good test. The disk was purchase from Midwest Super Cub
http://www.midwestsupercub.net/clutches.htm
Vogal Manufacturing
http://www.vogelmanufacturing.com/st...ain_page=index
has a good clutch disk too.
4. Inspect the throwout bearing(3)-replace as needed.
5. Inspect teaser spring(4)-replace as needed. I usually install a new on every clutch I do.
6. Inspect the clutch bracket(9) for wear-you can rebuild or replace as needed. I've done both.
7. Inspect the clutch release lever(10)-I have repaired the top holes where the pin goes through. The clutch release lever is replaced if there is any wear around the throwout bearing area.
8. Check the pin that goes between the clutch bracket and clutch release lever for wear. Replace as needed.
9. Clutch Driver(8) Check the drive pins and bushing in the clutch driver for wear. Replace as needed. I replace the pins and bushing when I rebuild a clutch.
10. I replace all the 1/4 X 1 1/2 spiroid pins in the driveshaft.
Pins and bushing are cheap from McMaster-Carr.