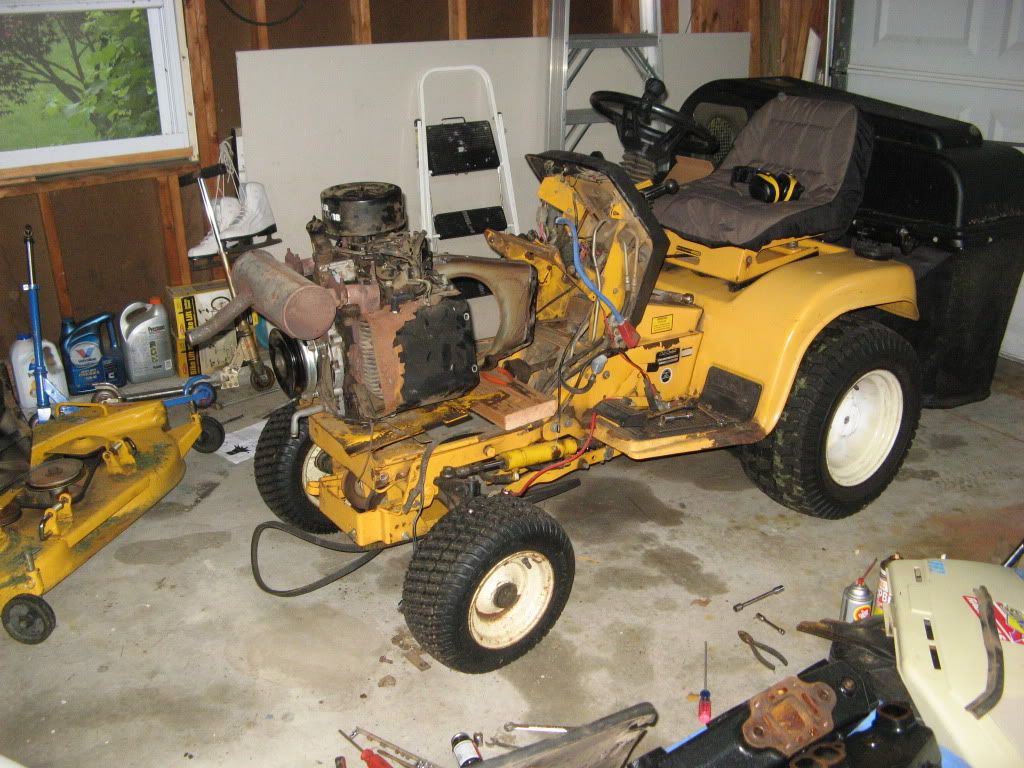
Big Bear, I just did this exact same thing on my 1862 a couple weeks ago and I never fully removed the engine from the tractor, only slid it forward a little and raised it above the frame rails with a 2x4. On our Cubs, the motor is mounted to a sub-plate and that sub-plate is held into the frame with 6 bolts, all accessed from below. Once those 6 bolts are out and all of the other items are disconnected from the motor (fuel lines, wires, throttle and choke cables, drive shaft, etc) you can raise the front of the motor and slide it forward until the sub-plate is sitting on the front frame cross member (just remember to lift the front high enough so the oil drain line clears the front cross member). Then you can raise the rear of the motor and slide a 2x4 in across the top of the frame rails. See picture below.
I was able to do all of this myself without too much exertion. Re-assembly of the sub-plate to the frame takes a couple extra minutes because the alignment of the bolt holes is pretty tight and it's not really easy to finesse the motor around but again it's not too tough. After I installed the new ignition module (mine would quit after running for a couple minutes), the motor fires within 1 -2 revolutions, like night and day compared to how it was. And if you do replace the ignition module, I believe the air gap is 0.008 inches.
One last thing, with the motor out it is a great time to clean those hard to reach places, check for loose or broken parts, and generally get to all of the impossible items you can normally just barely see let alone inspect. Good luck.