
 |
PLEASE PATRONIZE OUR SPONSORS!


|
|||||||
 |
|
|
Thread Tools | Display Modes |
|
|
|
#1
|
|||
|
|||
|
I purchase a 100 with a 42 inch mower deck and front blade at an auction in the fall of 2012.
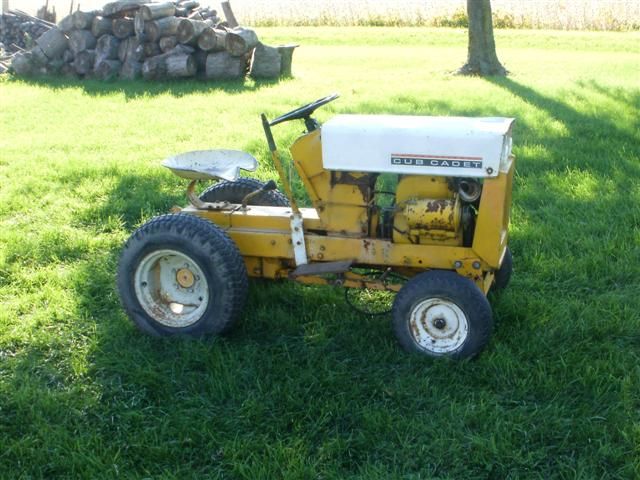 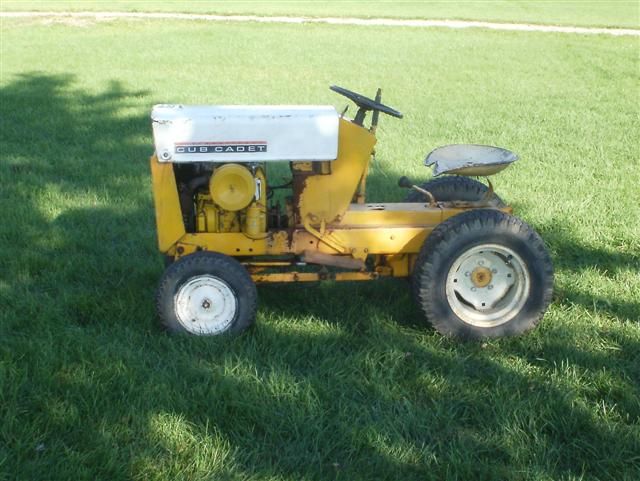 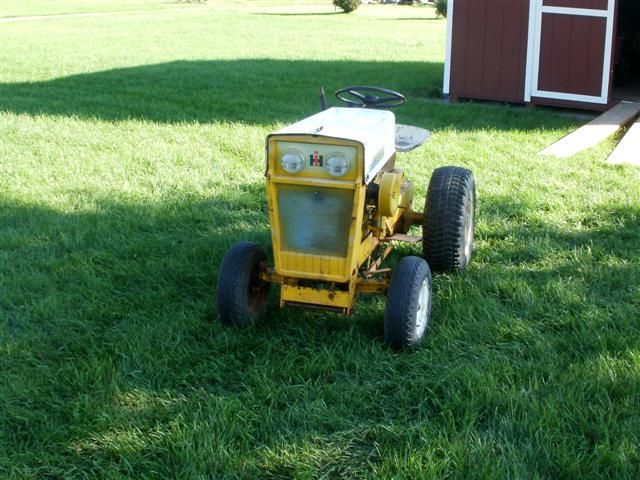 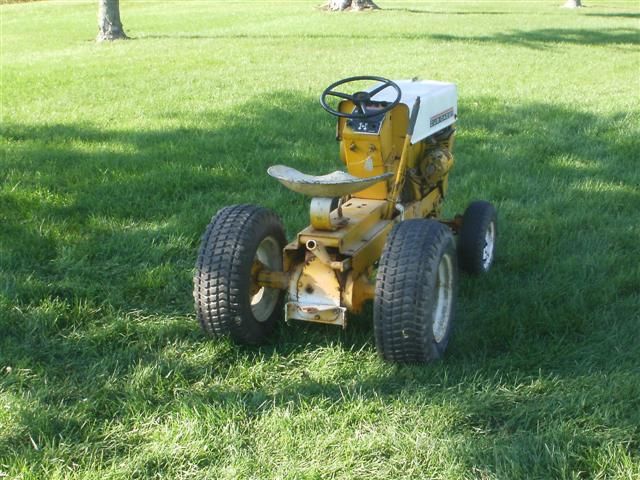 This 100 is one of the quickest starting garden tractors I've own. When you tried to engage the mower it acted like something was in a bind and not letting the mower blades spin. The problem ended up being the pulley was against the mule drive. The welded nut inside the frame was missing and the mule drive was bent. Only way to fix it was to remove the engine. The clutch between the engine and trans was acting up too (someone installed a wide frame clutch). While I need to remove the engine to weld the nut back on I will fix the clutch too. Removing the clutch is easy to do if you follow your repair instructions in your Cub Cadet manual. I had an extra narrow frame clutch to use. Narrow Frame Clutch Assembly: 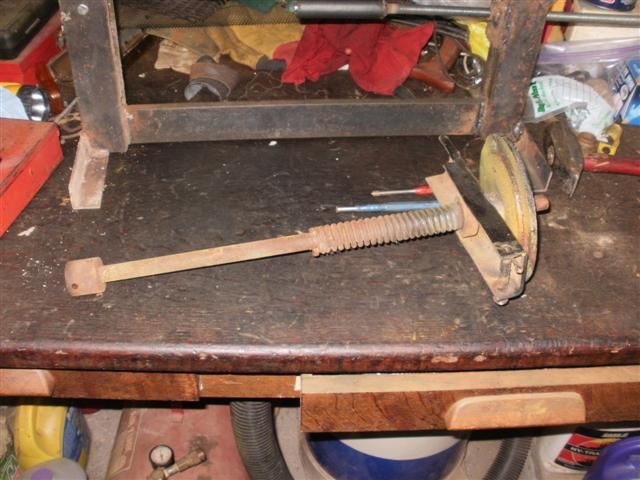 I wanted to take clutch assembly apart to make sure everything was ok. Here are the special tools I use to disassemble/assemble a clutch assembly: 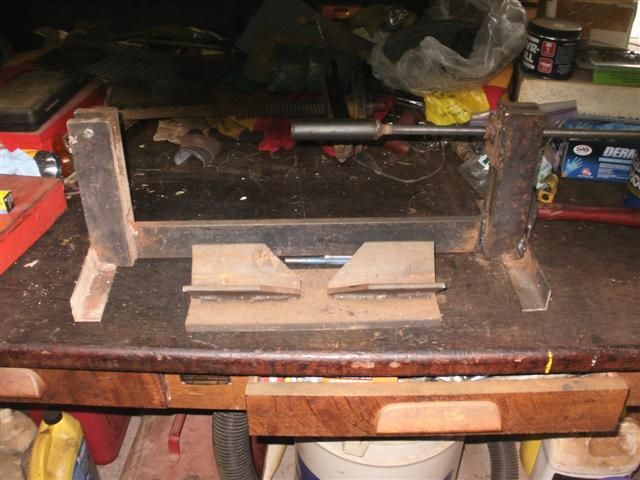 First thing I notice the throw out bearing was froze up. One of the first things I do is to remove coupler joint between the trans and driveshaft. I use my V-block to hold the clutch and hang the clutch disk over the edge: 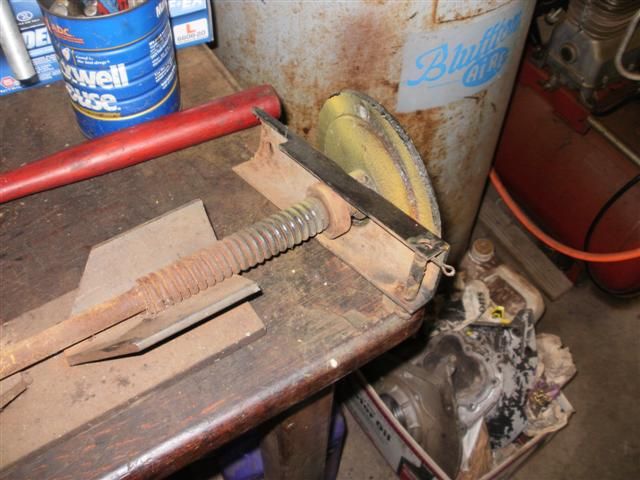 I use a spiroid pin punch to drive the pin out. 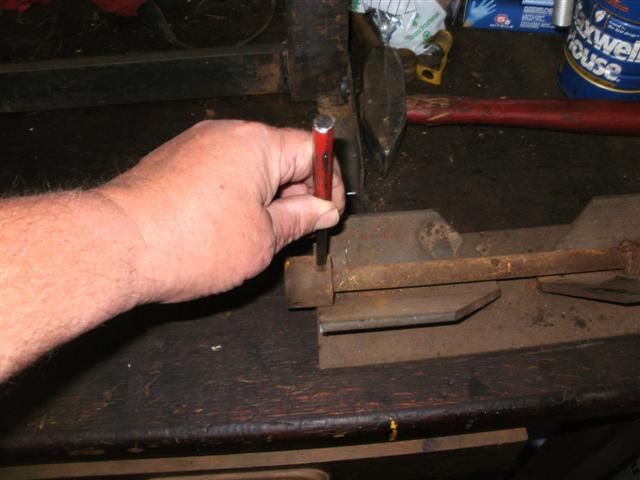 Notice the pin is over the edge so it has a place for the pin to go.
__________________
Project Uncle Dick Cub Cadet 70 http://www.onlycubcadets.net/forum/s...ght=Uncle+Dick |
|
#2
|
|||
|
|||
|
Notice the location of the pin in relation to the V-block:
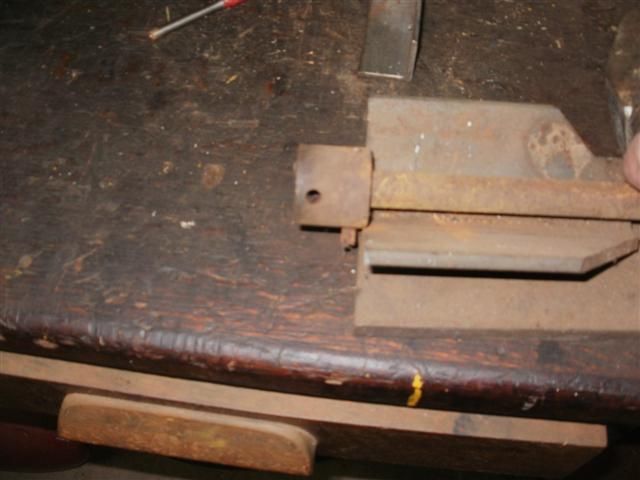 Next to removed is the pin holding the spring in place: 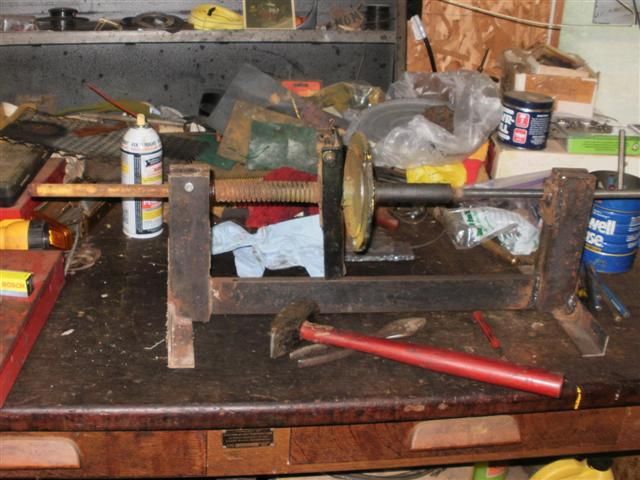 The bolt in the picture is an important safety feature that is a must if you use a jig like this one: 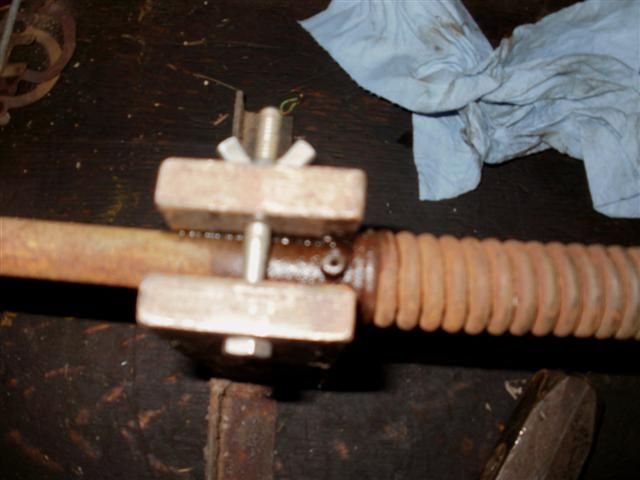 Pin out: 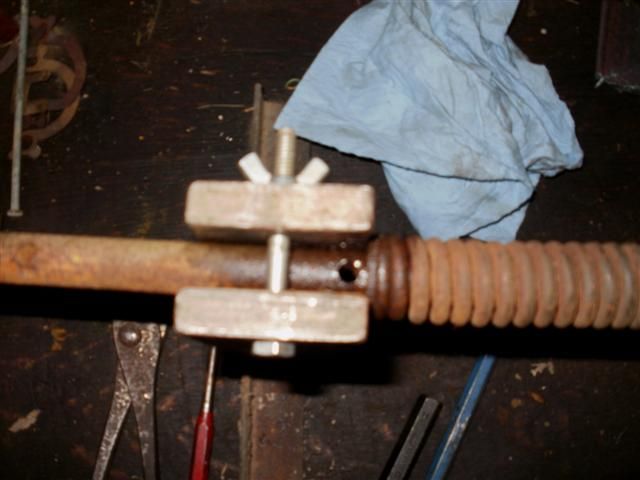 Here are some of the tools I use and the spring: 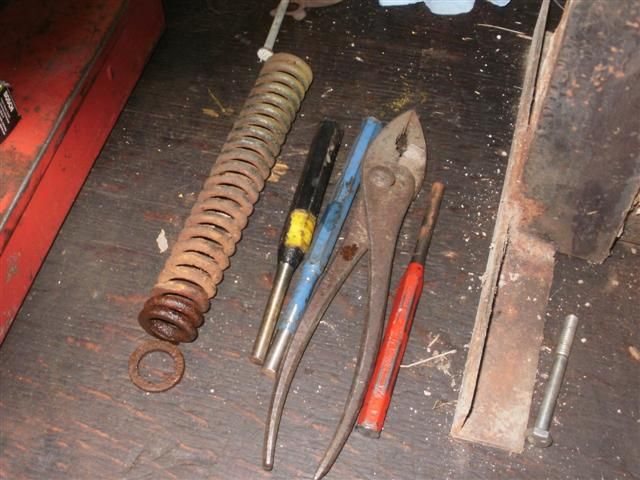 The next I like to do is remove the pin(s) that hold the pressure plates on the driveshaft. I will turn the clutch assembly end for end to use my jig to remove the pins. 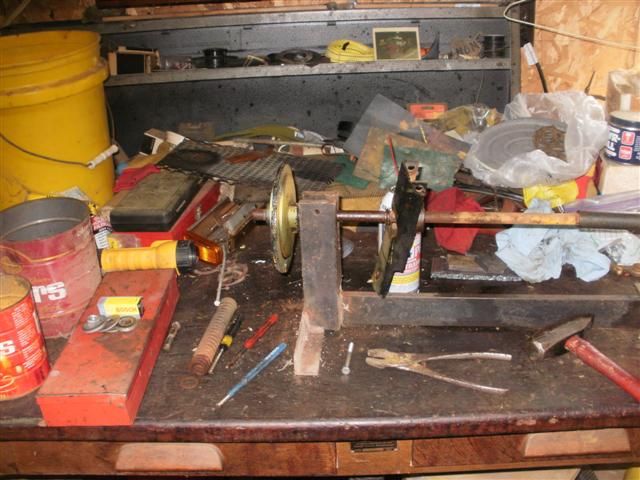 Closer view: 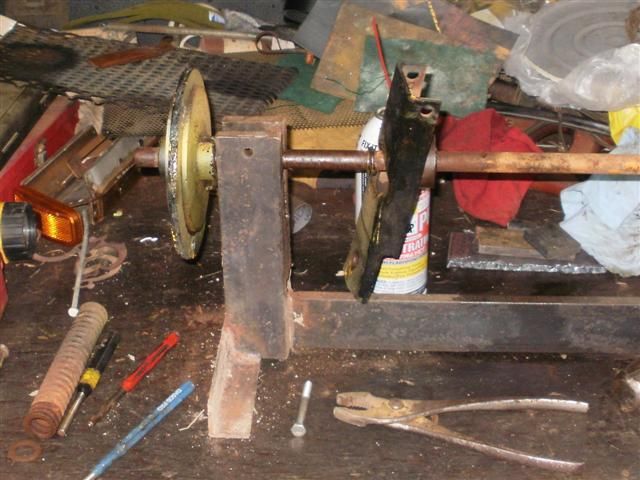 Front pin being removed: 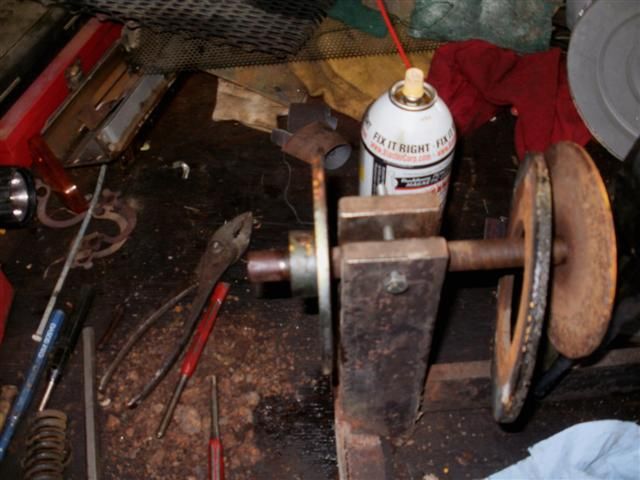
__________________
Project Uncle Dick Cub Cadet 70 http://www.onlycubcadets.net/forum/s...ght=Uncle+Dick |
|
#3
|
|||
|
|||
|
Clutch assembly is apart. Here is what the clutch disc looks like:
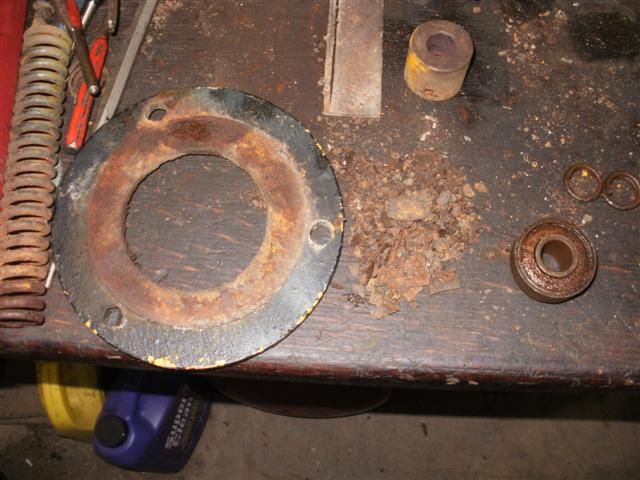 The pile to the right of the clutch disc is part of the clutch disc. Pressure plates: 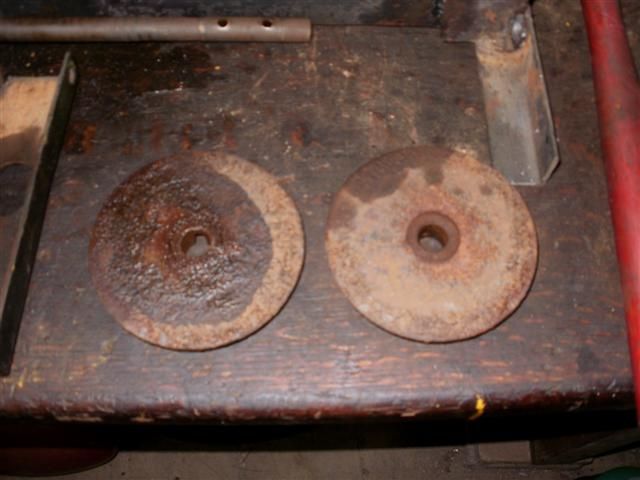 Release arm: 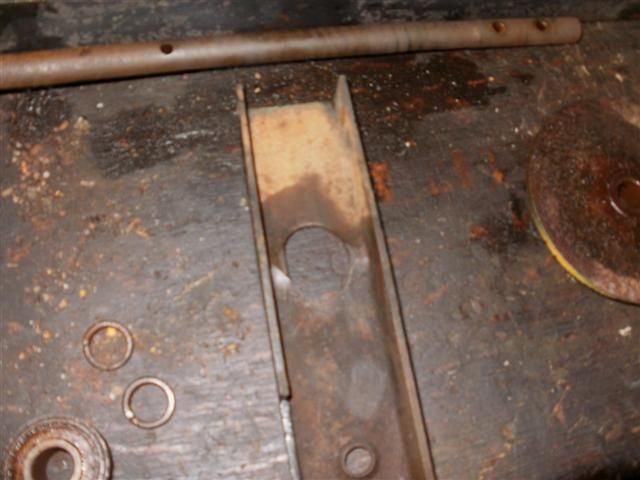 You need to look for excessive wear where my finger is pointing to: 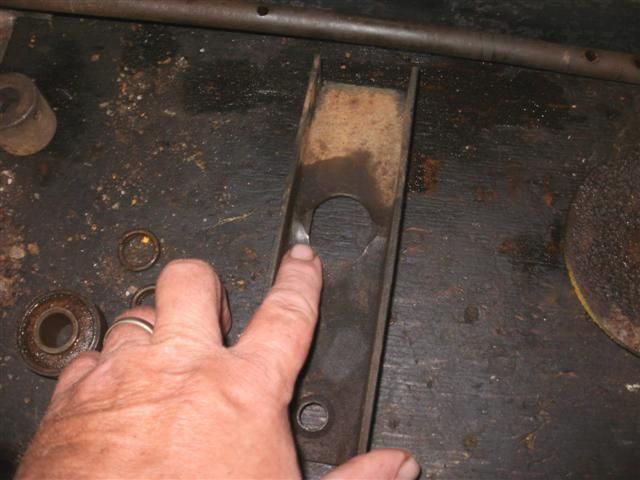 This release arm is in good shape. The area where my finger is pointing to is where the throw out bearing goes. 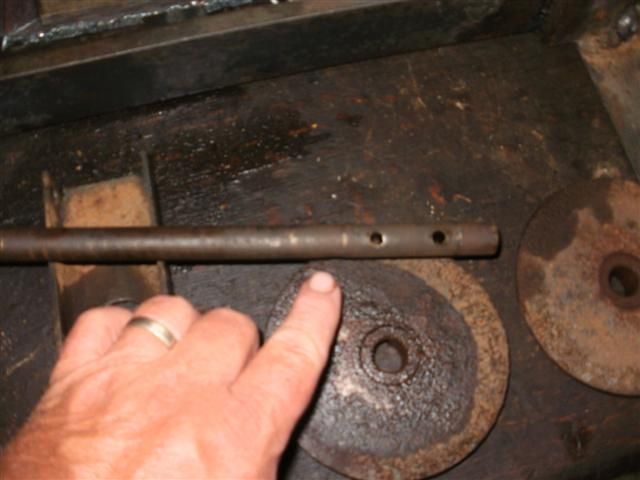 The driveshaft needs replace. Tomorrow we will make a list of parts that need replace.
__________________
Project Uncle Dick Cub Cadet 70 http://www.onlycubcadets.net/forum/s...ght=Uncle+Dick |
|
#4
|
|||
|
|||
|
Quote:
Picture of area in question: 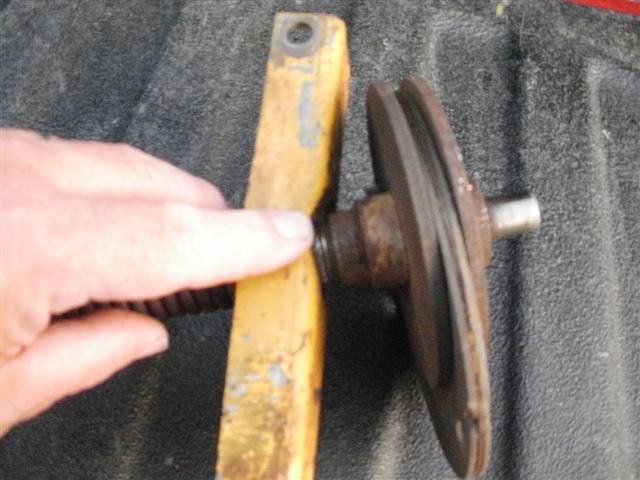 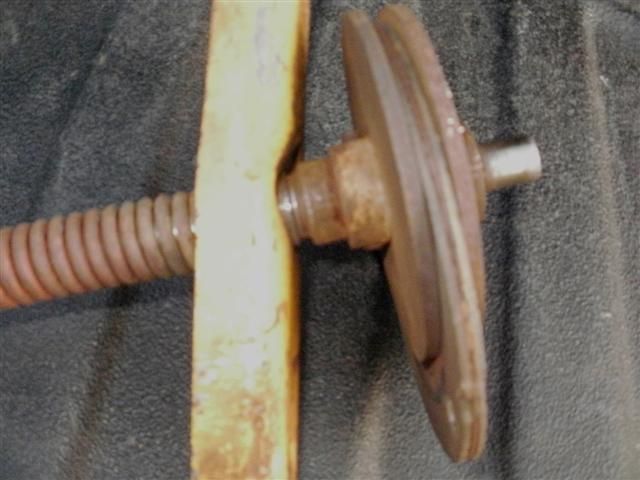
__________________
Project Uncle Dick Cub Cadet 70 http://www.onlycubcadets.net/forum/s...ght=Uncle+Dick |
|
#5
|
|||
|
|||
|
Quote:
One of the main reasons for this thread is to show how easy it can be to rebuild a clutch.
__________________
Project Uncle Dick Cub Cadet 70 http://www.onlycubcadets.net/forum/s...ght=Uncle+Dick |
|
#6
|
|||
|
|||
|
Quote:
I'm not a big fan of using a press. The tool I use can go to an event and is much easier to use than a press.
__________________
Project Uncle Dick Cub Cadet 70 http://www.onlycubcadets.net/forum/s...ght=Uncle+Dick |
|
#7
|
|||
|
|||
|
The last item I check out is the 3 pin driver.
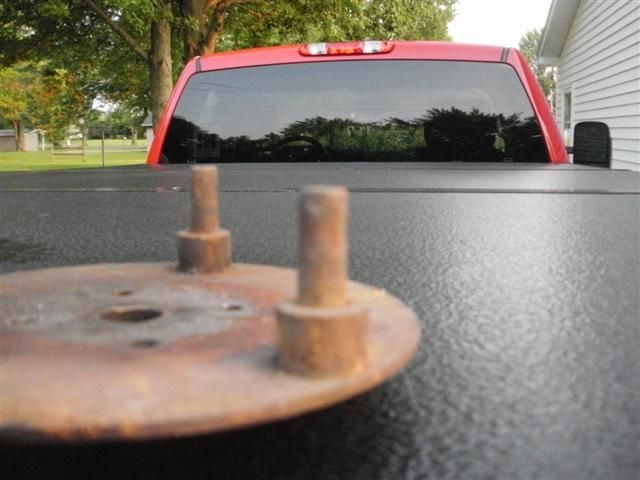 The picture shows the wear on the pins. Worn pin(s) will make the holes in the clutch disc go oversize and the pins could shear off. It will make the clutch go out of balance and the tractor will have the shakes. I will replace the bushing in the 3 pin driver too.
__________________
Project Uncle Dick Cub Cadet 70 http://www.onlycubcadets.net/forum/s...ght=Uncle+Dick |
|
#8
|
|||
|
|||
|
Here some great drawings to identify the different parts of a narrow frame clutch assembly:
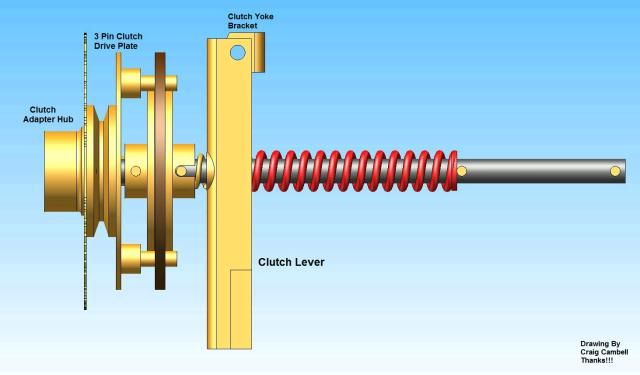 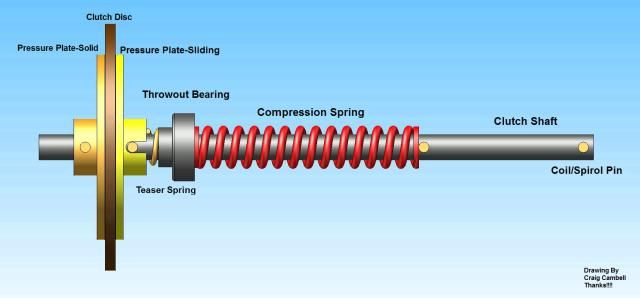 Thanks Craig Cambell for the drawings!!!
__________________
Project Uncle Dick Cub Cadet 70 http://www.onlycubcadets.net/forum/s...ght=Uncle+Dick |
|
#9
|
|||
|
|||
|
Materials used to build my clutch fixture:
The material used is 1/2 X 2 inch. The angle iron is 1 1/4 inch. The threaded rod is 1/2 thread. The length of the threaded rod is 18 inches. Overall length of the frame is 22 inches. Height is 8 inches. The bushing that goes between the threaded rod is 4 1/2 inches long and 1 inch outside diameter. The end towards the threaded rod is 1/2 inch diameter. The ends towards the clutch assembly/driveshaft is 5/8 inch diameter. Part was made on a lathe. Threaded rod end: There was a 1/2 nut welded to a flat piece of steel. This nut/plate was welded to the uprights. Centerline height is 7 inches. End that holds driveshaft in place: Shim stock was used to get the 5/8 spacing for the drive shaft. Support piece is 6 3/4 inches. Clutch holding fixture was built by my Son in his high school ag shop.
__________________
Project Uncle Dick Cub Cadet 70 http://www.onlycubcadets.net/forum/s...ght=Uncle+Dick |
 |
|
|
Cub Cadet is a premium line of outdoor power equipment, established in 1961 as part of International Harvester. During the 1960s, IH initiated an entirely new line of lawn and garden equipment aimed at the owners rural homes with large yards and private gardens. There were a wide variety of Cub Cadet branded and after-market attachments available; including mowers, blades, snow blowers, front loaders, plows, carts, etc. Cub Cadet advertising at that time harped on their thorough testing by "boys - acknowledged by many as the world's worst destructive force!". Cub Cadets became known for their dependability and rugged construction.
MTD Products, Inc. of Cleveland, Ohio purchased the Cub Cadet brand from International Harvester in 1981. Cub Cadet was held as a wholly owned subsidiary for many years following this acquisition, which allowed them to operate independently. Recently, MTD has taken a more aggressive role and integrated Cub Cadet into its other lines of power equipment.
This website and forum are not affiliated with or sponsored by MTD Products Inc, which owns the CUB CADET trademarks. It is not an official MTD Products Inc, website, and MTD Products Inc, is not responsible for any of its content. The official MTD Products Inc, website can be found at: http://www.mtdproducts.com. The information and opinions expressed on this website are the responsibility of the website's owner and/or it's members, and do not represent the opinions of MTD Products Inc. IH, INTERNATIONAL HARVESTER are registered trademark of CNH America LLC
All material, images, and graphics from this site are the property of www.onlycubcadets.net. Any unauthorized use, reproductions, or duplications are prohibited unless solely expressed in writing.
Cub Cadet, Cub, Cadet, IH, MTD, Parts, Tractors, Tractor, International Harvester, Lawn, Garden, Lawn Mower, Kohler, garden tractor equipment, lawn garden tractors, antique garden tractors, garden tractor, PTO, parts, online, Original, 70, 71, 72, 73, 76, SO76, 80, 81, 86, 100, 102, 104, 105, 106, 107, 108,109, 122, 123, 124, 125, 126, 127, 128, 129, 147, 149, 169, 182, 282, 382, 482, 580, 582, 582 Special, 680, 682, 782, 782D, 784, 800, 805, 882, 982, 984, 986, 1000, 1015, 1100, 1105, 1110, 1200, 1250, 1282, 1450, 1512, 1604, 1605, 1606, 1610, 1615, 1620, 1650, 1710, 1711, 1712, 1806, 1810, 1811, 1812, 1912, 1914.